Need a new adventure? Read our rock climbing guide
This post is brought to you by Alison Dennis, the founder of WeighMyRack.com. Alison is on a mission to change the world of gear research. Even though WeighMyRack is already the most comprehensive climbing gear site, Alison has not slowed down, and is even more obsessed with teaching others about gear. She’s seen over and over how a lack of gear understanding holds people back from the activities they want to do. She wants to empower everybody to jump into new sports with the confidence that they have the right equipment. And this post proves it:
Whoa is amazing at showcasing ladies and the rad activities they do. And I’m going to go over how you can be just as rad when you take the leap to go rock climbing. Climbing can be super fun, a great workout, and it’s easier to get started than you might imagine.
When you watch a climber, it looks like you’d need to know exactly what’s going on before you can even start climbing yourself. But I’m here to tell you, that’s not the case. In this post, I’ll give tips on how to gear up (easily and economically) so you can have a great time climbing, even if it’s your first time.
To start, it’s helpful to know that there are two main types of climbing that are done in the gym.

Bouldering – While bouldering, you climb shorter routes (boulders) that are usually less than 15 feet high, and if you fall, a spotter helps direct you to the cushy landing area. This is the least gear intensive type of climbing.
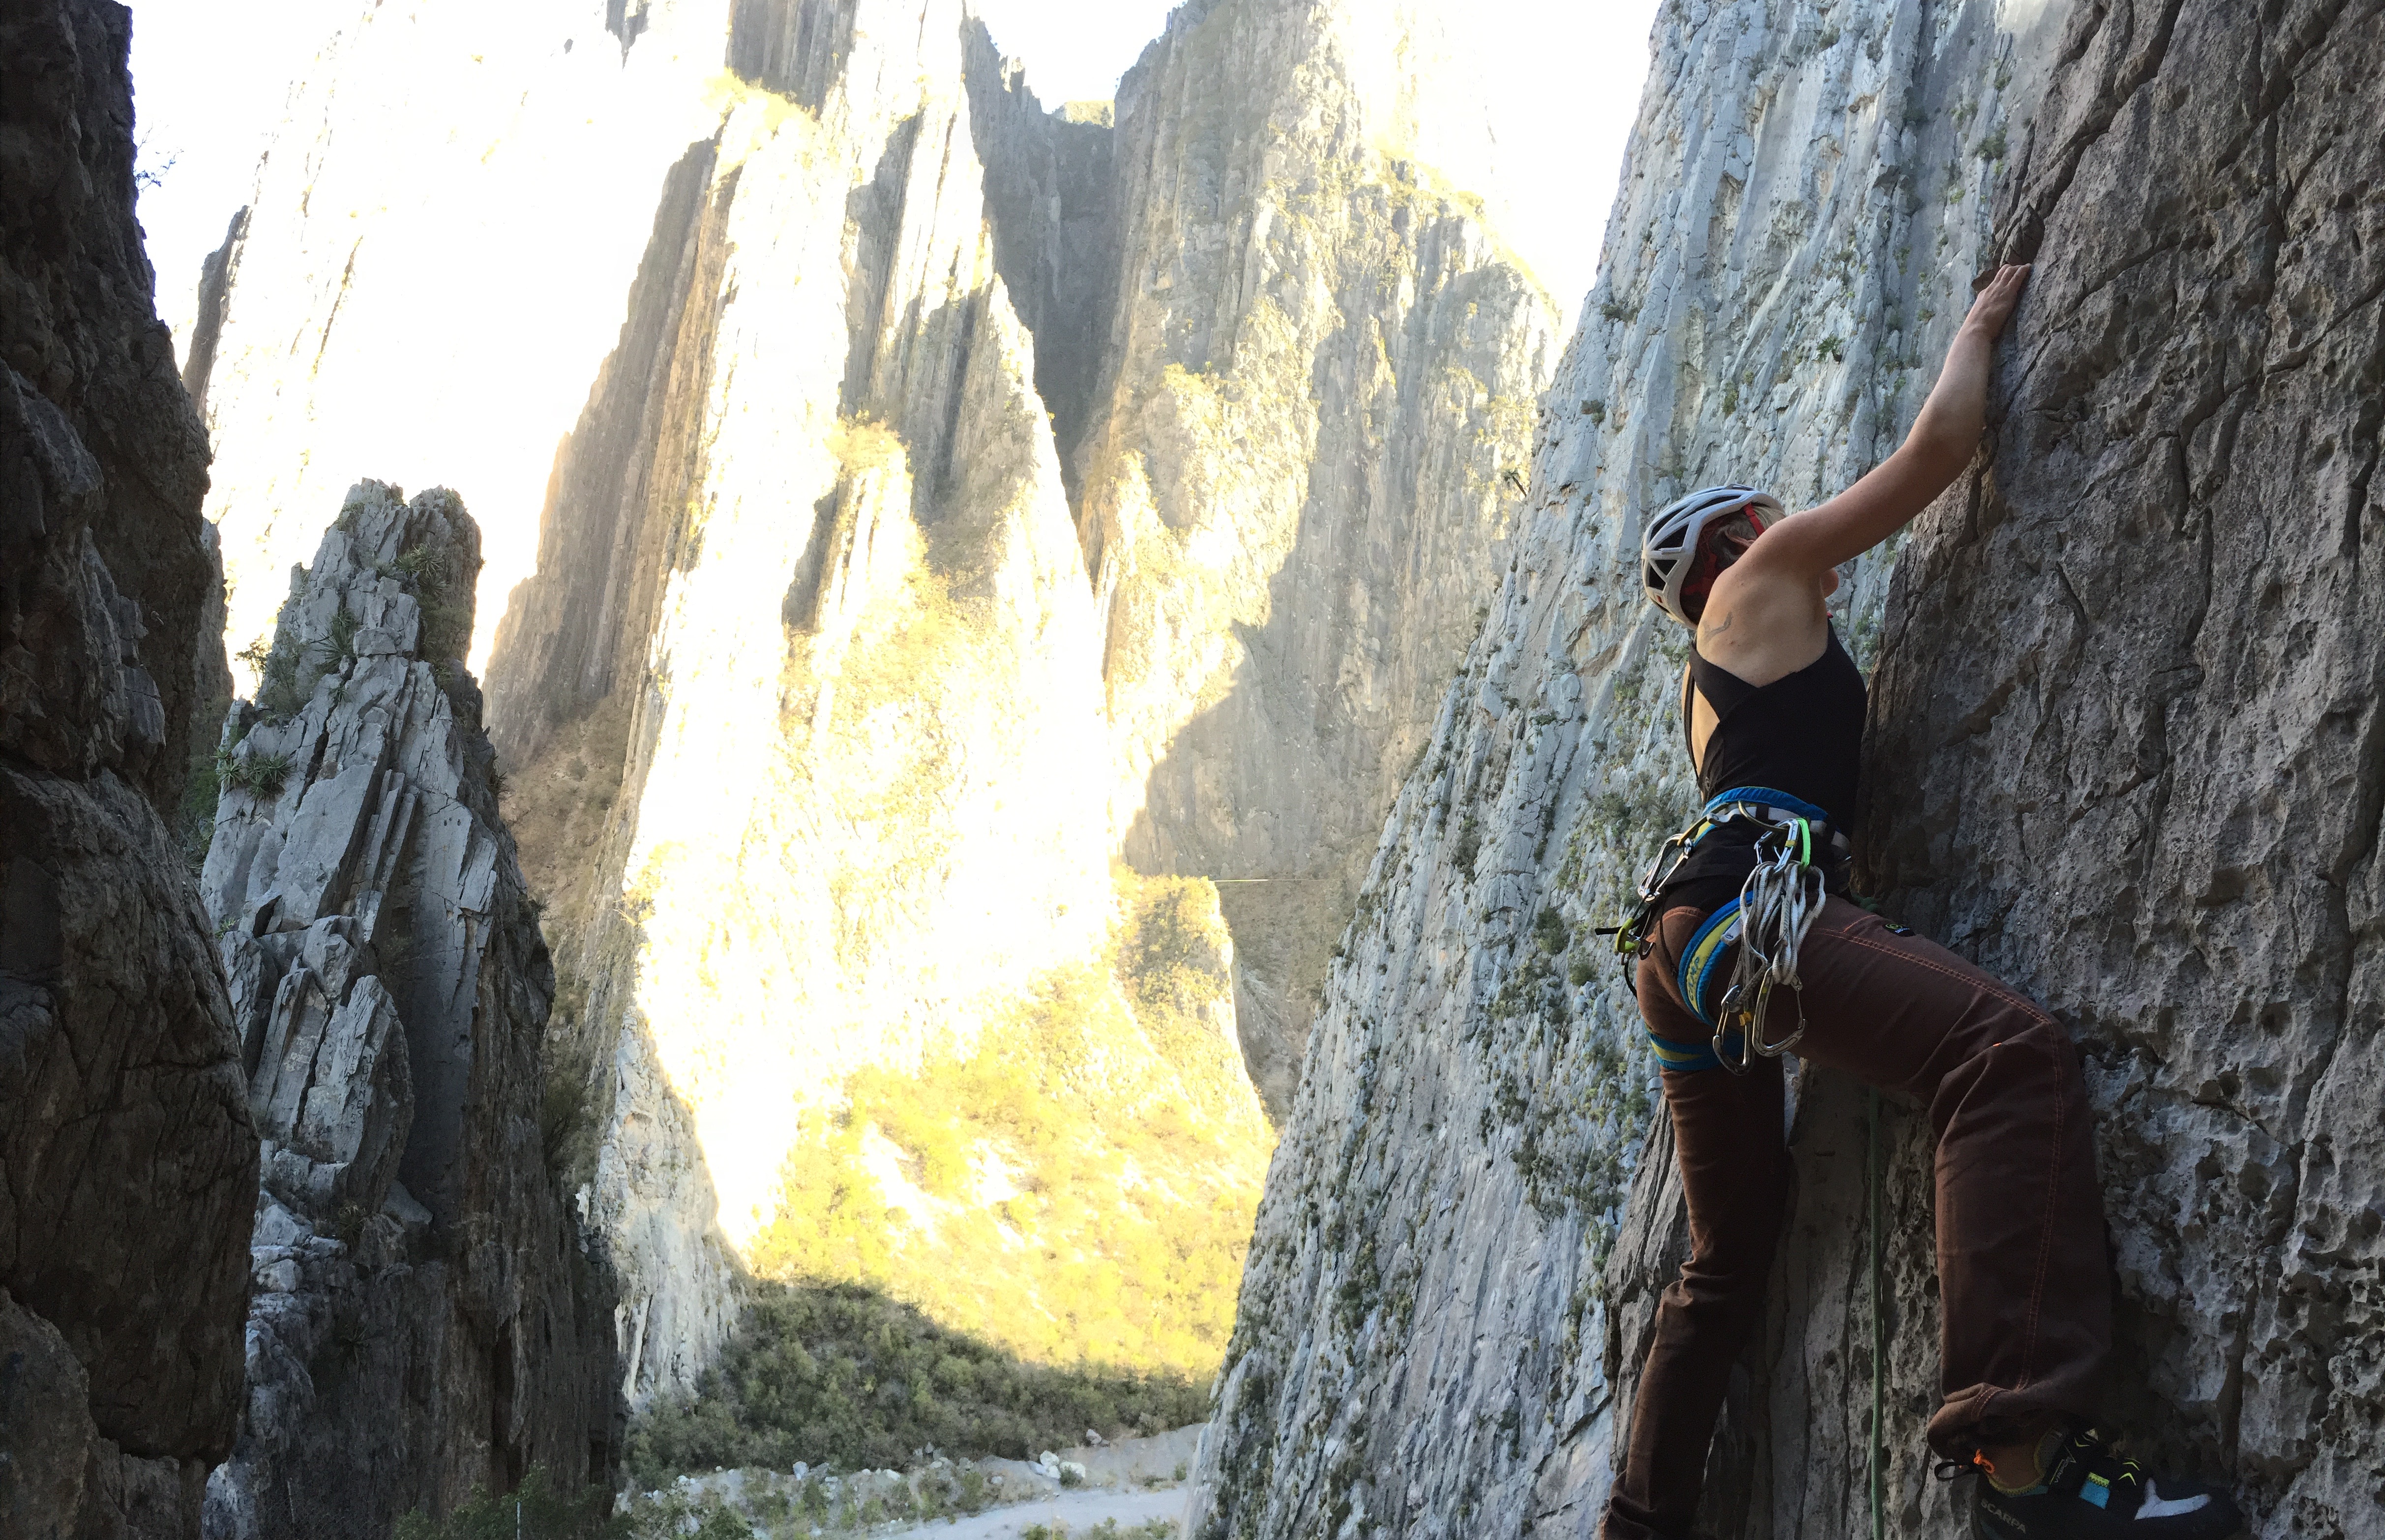
Roped Climbing (aka top roping and sport climbing) – When you scale taller walls (30+ feet) and your partner catches your falls with the rope that you’re both attached to. This type of climbing requires a few additional pieces of gear, and we’ll get into all of them below.
There are many more niche styles of outdoor climbing, and if you’re super curious you can get an overview in this Climbing Styles post.
Tips for Indoor Bouldering
Since climbing gear can be a little overwhelming in the beginning, one way to keep things simple is to start bouldering. All you really need is a pair of climbing shoes. A chalk bag with chalk can also be helpful to combat sweaty hands.
If it’s your first time bouldering, you don’t even have to buy shoes. Before spending $60-120 on your first pair of shoes, you can rent instead. Virtually every climbing gym rents shoes, usually for a few bucks. But if rental shoes sound gross or like wasteful spending, you can buy your own pair, and there are sizing tips further down.
There are no tests to take before you start bouldering (for roped climbing, you’ll need to pass a belay test). To boulder, you can walk into any gym, buy a pass and chalk, rent shoes, and start climbing.
To boulder outdoors, either you, or your friends, will want to invest in a bouldering pad– a mobile padded mattress to catch your falls.
Tips for Roped Climbing (aka sport climbing and top-roping)
If this is your first time climbing, your best bet is to seek out a program to teach you how to belay and climb at your gym. Every gym offers introductory lessons. And guide services can offer this type of training for outdoor climbing. This first lesson will teach you how to put on your harness, properly tie into the rope, belay a climber (including catching a falling climber) and making sure the whole process is a safe one for you and your partner. At first, even I was intimidated to take this class solo. But once you begin using the gear and climbing, the fear of the unfamiliar quickly transforms into the excitement of accomplishing something that previously seemed impossible.
If you want, you can come to this class with gear of your own, or you can rent gear. Don’t worry if you don’t know how to use any of the gear that you just bought (or are renting) — just let the instructor know that all the gear is new to you. No shame at all.
If you already have a climbing partner who teaches you the basics ahead of time, that’s great! More practice is even better. I still always recommend the gym class because they will be the most up to date on safety standards and methods. And every gym that offers roped climbing will have a “belay test” that is specific to that gym before you can climb, whether you’re a new climber or have tons of experience.
It’s worth noting that you do not need to buy a rope to climb in the gym, they will supply them. And, although you can definitely buy and wear a helmet in the gym, most climbers do not. For outside use, a rope and helmet are standard fare.
Tips for Buying your first pair of climbing shoes
- Get a pair that has a flat bottom (no downturn or arch between the toe and heel)
- For the size, “snug” is what you’re going for (not “tight” or “loose”). Size your shoes so your toes just barely touch the end of the shoe, that’s perfect. Many out-of-date guides suggest shoes should be super tight, but this is no longer the case due to superior shoe designs.
- For fit, you want to avoid spots where your foot can’t feel the sides or top of the shoe (aka “dead space”). Like if your heel doesn’t touch both sides of the shoe, try a different size or model (this will help to prevent your feet slipping while climbing).
- If you have wide feet, check out men’s models, as women’s models tend to be slimmer. Each brand is a little different in their width, but if you find a shoe that feels like a vice grip on the sides, try the men’s version or perhaps a size up.
- Looking for cheap shoes specifically is totally fine. Buying a $120+ pair of shoes when you’re just starting isn’t worth it–it’ll take time to learn techniques that help keep the shoes from wearing out quickly, so there’s no need to blow through expensive shoes.
- Fit is more important than cost. Get the one that fits best, even if it’s $40 more. Otherwise, you’ll end up needing a new pair of shoes sooner and you’ll actually spend more money in the end (I speak from experience).
Some of the most popular / newest / awarded models of great shoes for starting are:

La Sportiva Oxygym – $99 |

Evolv Elektra – $89 |

Mad Rock Pulse Positive – $89 |

|
Above are the quick and dirty shoe tips, if you want to read up on every aspect of climbing shoes, check out this Complete Shoe Guide.
Note: If you don’t want to wade into the gear details below, you can buy always buy a climbing starter package. These packages include all the gear (except shoes) that you need to get started gym climbing quickly.
Tips for buying chalk and a chalk bag
If you’re starting out climbing with other climbers, feel free to borrow their chalk bag initially (unless you know you have super sweaty hands, in which case, you’ll probably want your own). Most gyms also rent them (and sell them). If you know you’ll climb 8+ times, buying makes the most sense.
- Ideally, your chalk bag closes tight (no holes show after you’ve cinched it down). This will prevent it from leaking chalk all over your stuff during transit.
- Chalk bags are one of the few items in climbing that don’t need to be safety certified so there are a lot of creative makers–there are plenty of options to let your personality shine and you can even make your own.
- For the chalk itself: get a chalk ball (a ball that holds chalk and sits in your chalk bag). Most gyms require this versus loose chalk. At this stage, there’s no need to worry about chalk brands, it’s ok to buy whatever’s cheap or on sale.
Example custom chalk bag options from Etsy (all the major climbing brands sell chalk bags too, and they’re available in nearly every gym):


All the gear below is only necessary if you want to do roped climbing!
Tips for buying a climbing harness
To find the best harness you’ll often hear “find the one that fits best.” This means, after you’ve put your harness on and tighten it down….
- you can only slip a flat hand between your torso and harness (not a whole fist of space)
- have a healthy 3 or more inches of extra webbing (tail) beyond the waist buckle
- have at least 2 inches of tail on the legs (some harnesses have fixed leg loops with no buckles/extra webbing on the legs, and that’s fine too)
- Too tight: squeezing or cutting off circulation in your waist or legs.
- Too loose: if you have the waist belt as tight as it goes and you can still fit a fist between your torso and the harness.
- If you have a pressure point, where a part of the harness literally rubs you the wrong way, don’t buy it.
- Harnesses are not good to buy used from an unknown source, as they don’t include the instruction manual and you can’t be sure of its history. For example, older harnesses use different buckles than most harnesses today.
To see a longer list of which items are ok to buy used or not, check out this Used Gear climbing post.
Some examples of great first harnesses to buy on a budget:

CAMP Energy – $49 |

Mammut Ophir 3 – $55 |

Black Diamond Primrose – $55 |

Petzl Luna – $75 |
Tips for buying a belay device
This is what helps you catch a falling climber. Some gyms even come pre-equipped with a belay device on each rope so you might not need to buy one right away.
Most belay devices are fairly similar and there are many devices that are price-point conscious. If you climb with climbers who are heavier than you, get one with grooves on the open end (“teeth”) as they add friction and make it easier to hold a fallen climber.

Black Diamond ATC XP – $17 |

Petzl Verso – $19 |
For extra stopping power, you can get a device that assists in taking the weight as a climber falls (also called brake-assist device). These devices have become the standard for gym climbing because of the increased safety, but they still require that you know how to use them properly.

Edelrid Jul 2 – $29 |

Petzl GriGri 2 – $99 |
If you already know you’re going to love climbing and dream of alpine climbs, huge multi-pitch walls, or ice climbing, then buy a device that includes a “guide mode” feature. Go to weighmyrack.com/belay to see what “guide mode” means and to sort through all the options.
Tips for buying a belay carabiner
Belay carabiners are bigger than most other climbing carabiners (their shape is a “pear” or “HMS”) and they are always locking carabiners. Most locking carabiners have screw-lock gates. Some have auto-locking mechanisms but they tend to be more expensive.

Black Diamond Rocklock – $10 |

Petzl Attache – $15 |
The safest belay carabiners have a keeper that prevents the carabiner from rotating around the belay loop. This ensures the carabiner can’t become oriented incorrectly.

Edelrid HMS Strike FG – $18 |

CAMP HMS Belay Lock – $24 |
Although they are more expensive, some climbers prefer auto-locking carabiners. They have the added safety of automatically locking, which means you can’t forget to lock them. But it can also create bad habits of forgetting to check your carabiner. If you want to see auto-locking carabiners along with the rest of the options go to weighmyrack.com/carabiner.
That’s it for gear!
Ok, so that was a lot of gear talk. And, although the gear can seem crazy in the beginning, it will soon be second nature and you can focus on the having fun of climbing!
Enthusiasm, a willingness to try new things, and a desire to adventure into the unknown are the most important attitudes for having fun climbing.
To make climbing comfortable and enjoyable, ask questions. Why is it this way? Is this safe? Can I do this? Is this ok? It’s much easier to be confident and have fun when you know what’s going on and why. You trust your life to your partner and how they use their gear. And your partner trusts you equally.
Also, know that it’s ok to fall. A lot of beginning climbers think falling is bad. It seems like you’ve just failed. (Even I fall into this limiting belief trap). Most experienced climbers fall a lot. It happens, and when you’re trying really hard, it happens more.
Falling means you have an opportunity to learn, to experiment, to get creative, to test something new.
And that’s exactly what all the amazingly rad ladies that Whoa has profiled have done. They’ve put themselves out there in sometimes terrifying situations and put all their effort and focus on overcoming the next challenge. Whether that challenge is the next handhold, the next climbing grade, or starting their own business.
I wrote this post in hopes that gear will no longer be a barrier from starting climbing. If you have any further questions about the gear recommendations above, or any other questions about how to get into climbing in general, I’d be happy to answer them. Find me in the comments or on any of WeighMyRack’s social channels or contact areas!